Step 1: Create New Sensor in CORIOLIX
Logging data to CORIOLIX first requires the creation of a sensor record in the CORIOLIX database. Because CORIOLIX manages all phases of the data lifecycle, it requires us to specify a diverse and comprehensive set of metadata up front.
[!TIP] Best Practice
While not all metadata fields are strictly required, best practice is to maintain all fields for optimal data management and system functionality.
Getting Started
First, ensure that you are logged in and viewing the Sensor Details & Logs Page. This is where all new sensor records are created.
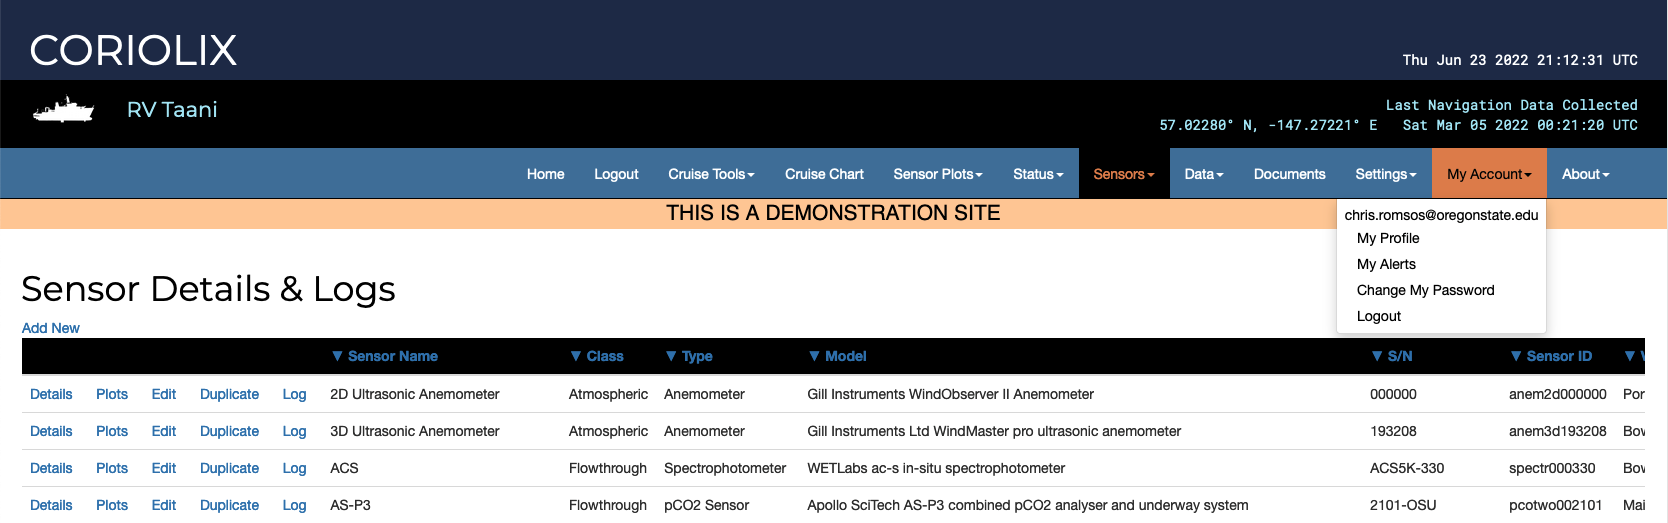
Choose the "Add New" option at the top left corner of the Sensor Details and Logs table. This will load the New sensor setup form.
Sensor Configuration Sections
Sensor Overview
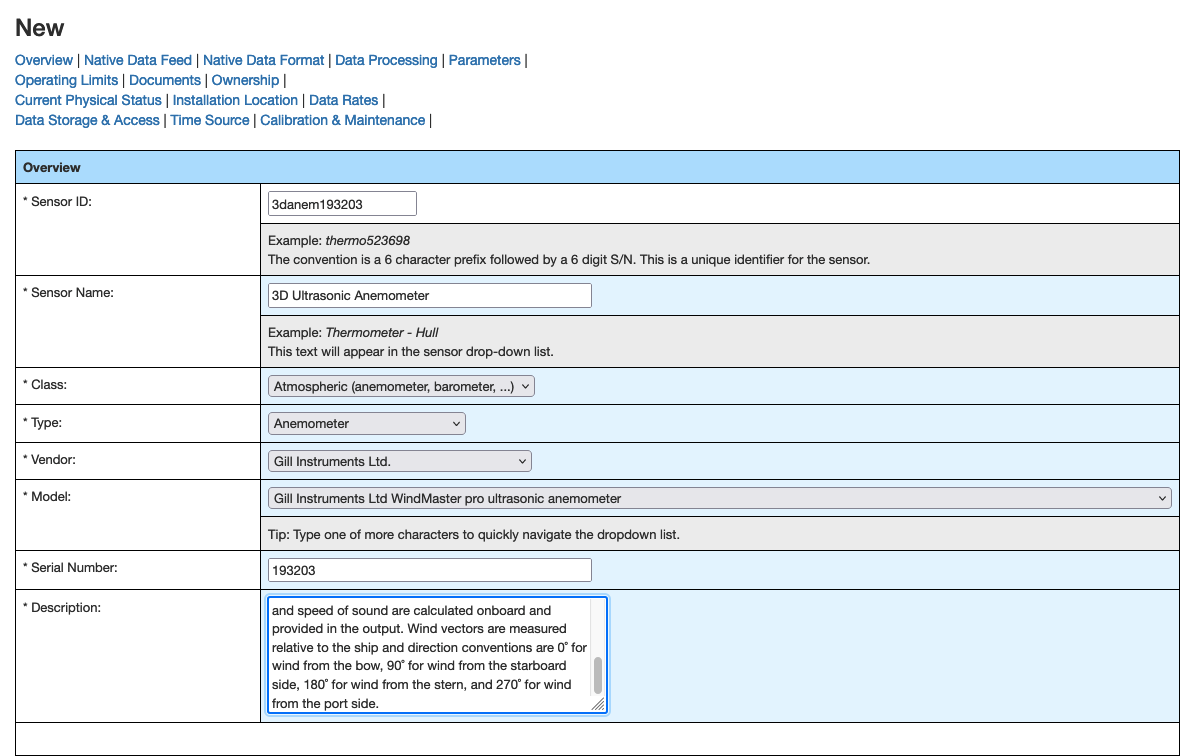
Complete the following basic sensor information:
| Field | Description | Format/Notes |
|---|---|---|
| Sensor ID | Unique identifier | 6 digit alphanumeric + last 6 digits of serial number |
| Sensor Name | Official name | Name provided by the manufacturer |
| Class | Generic classification | Used in CORIOLIX for grouping plots and displays |
| Type | Sensor type | Select from controlled NURC vocabulary options |
| Vendor | Manufacturer | Select from controlled NURC vocabulary options |
| Serial Number | Hardware identifier | As marked on the physical instrument |
| Description | Additional details | Free text description |
Native Data Feed Configuration
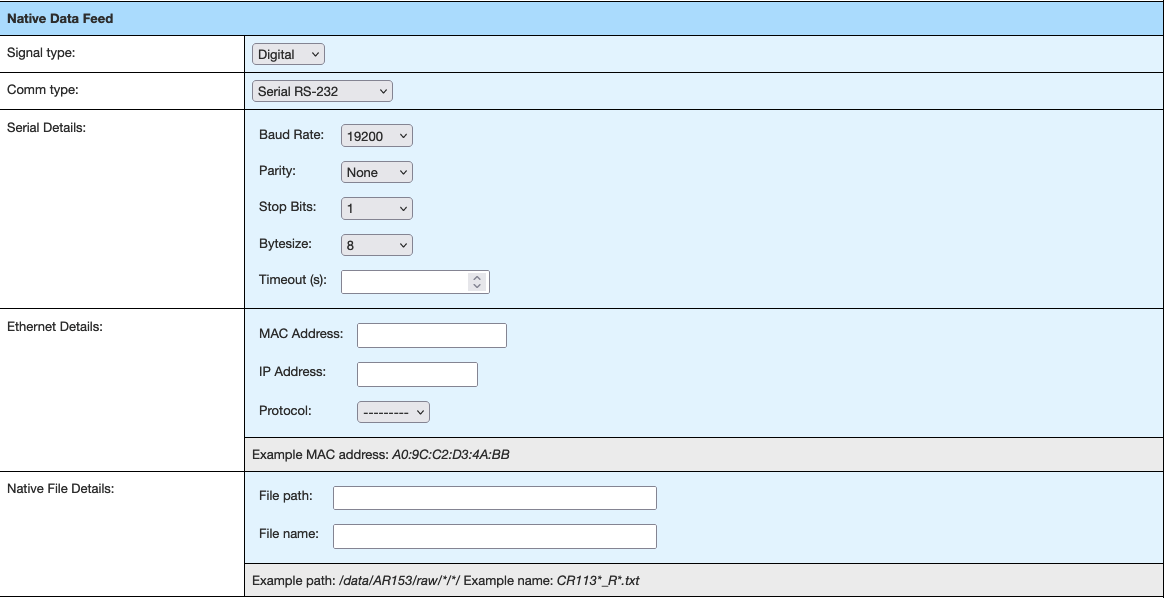
Configure how the sensor communicates with CORIOLIX:
| Field | Options | Notes |
|---|---|---|
| Signal Type | Analog, Digital, Derived | Use "Derived" only for synthetic sensors (True Winds, etc.) |
| Comm Type | Various protocols | Choose the analog carrier or digital transmission protocol |
| Serial Details | Connection settings | Leave empty for non-serial instruments |
| Ethernet Details | Network settings | Leave empty for non-ethernet enabled instruments |
| Native File Details | File path/format | Complete only if sensor data must be read from a file |
Native Data Format

Define the data format and parsing requirements:
- Native Data Description - Free text description of the data format
- Native Data Type - For digital data: text or binary encoding
Sample Data Messages
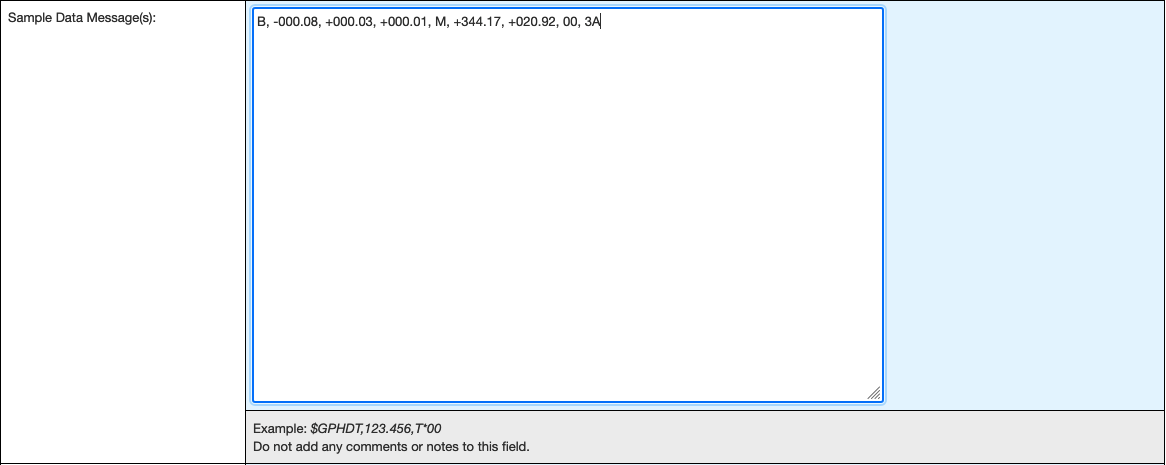
Capture one or more actual messages from the instrument. These will be used to develop and test the Message Format String parsing expression.
Example: For a 3D anemometer message:
Message Format String (Regex Parser)
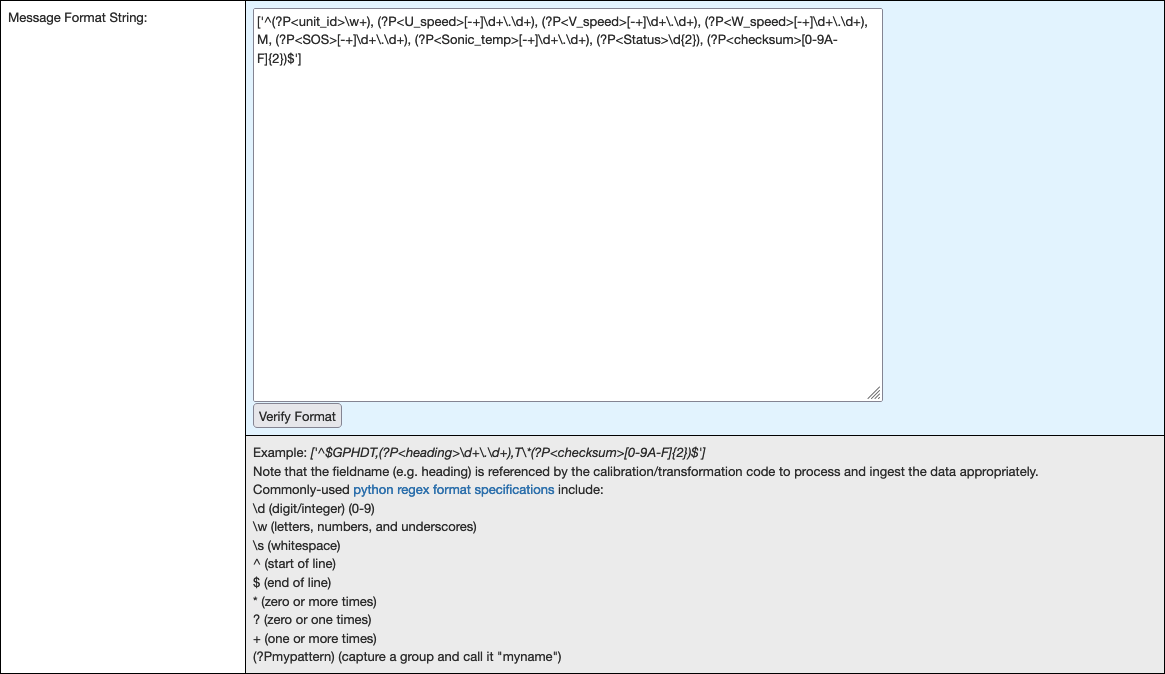
Create a regular expression to parse messages into named variables.
Example: Building a Regex Parser Using our anemometer example, we want to parse these values:
- unit_id = B
- U_speed = -000.08
- V_speed = +000.03
- W_speed = +000.01
- SOS = +344.17
- Sonic_temp = +020.92
- Status = 00
- checksum = 3A
Step-by-step regex construction:
- Start with brackets:
[''] - Add start of line:
['^'] - Add parentheses pairs:
['^(),(),(),(),(),(),(),()'] - Include literal characters:
['^(),(),(),(),M,(),(),(),()'] - Add named capture groups:
(?P<variable_name>regex)
Final example:
['^(?P<unit_id>\w+),\s*(?P<U_speed>[+-]?\d+\.\d+),\s*(?P<V_speed>[+-]?\d+\.\d+),\s*(?P<W_speed>[+-]?\d+\.\d+),\s*M,\s*(?P<SOS>[+-]?\d+\.\d+),\s*(?P<Sonic_temp>[+-]?\d+\.\d+),\s*(?P<Status>\d+),\s*(?P<checksum>\w+)']
[!WARNING] Testing Required
Always use the "Verify Format" button to test the parser with sample data before proceeding.
Data Processing Script

Specify the data transformation module:
- Script Name - Identifies which pre-written transformation module to use
- Default Value - Use
NoTransformationif no calibration or transformation is needed
Operating Limits
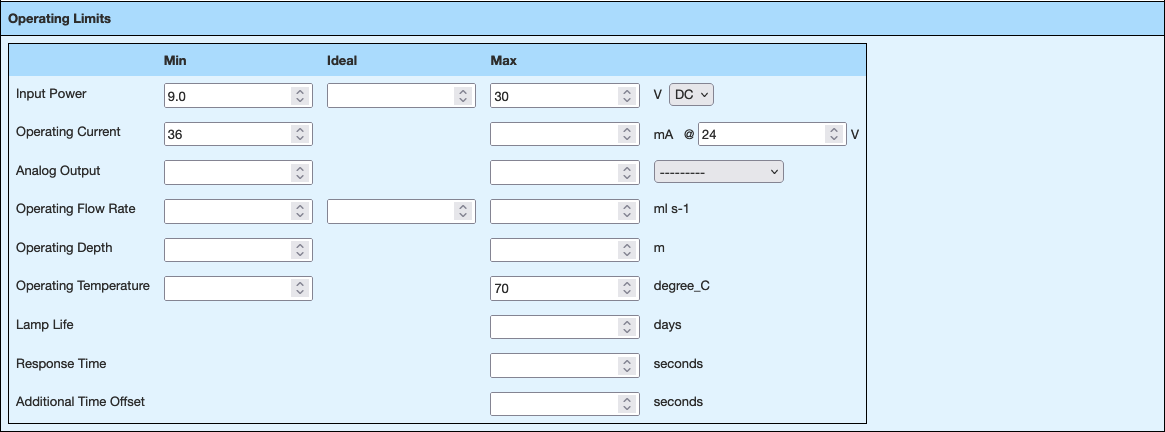
Complete equipment operating limit information for QA/QC purposes:
- Temperature ranges
- Pressure limits
- Voltage requirements
- Other environmental constraints
Additional Configuration Sections
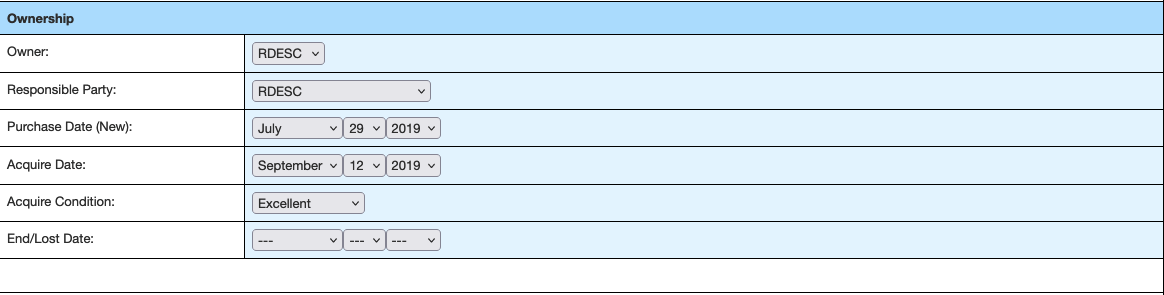
Ownership Information
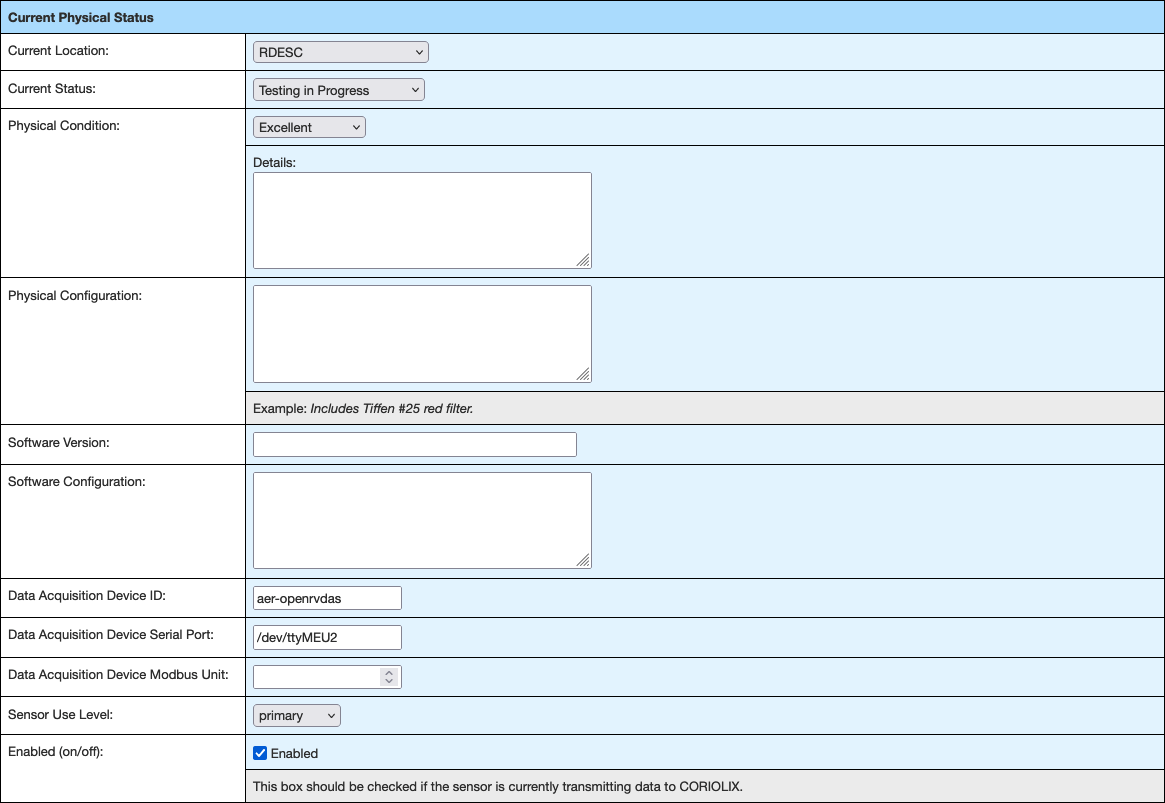
Current Physical Status
Vessel Installation Location

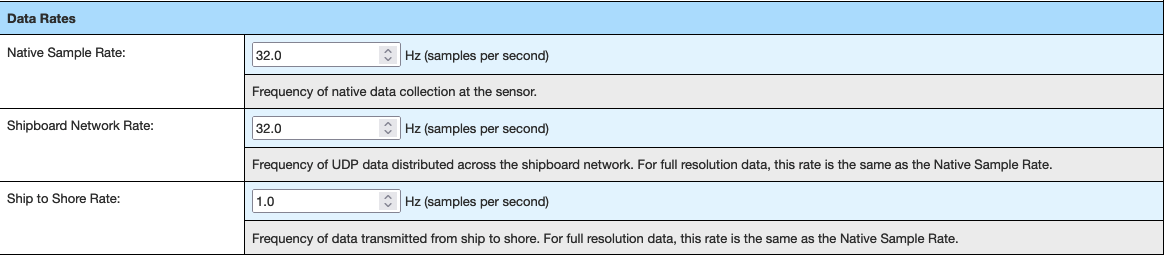
Data Rates
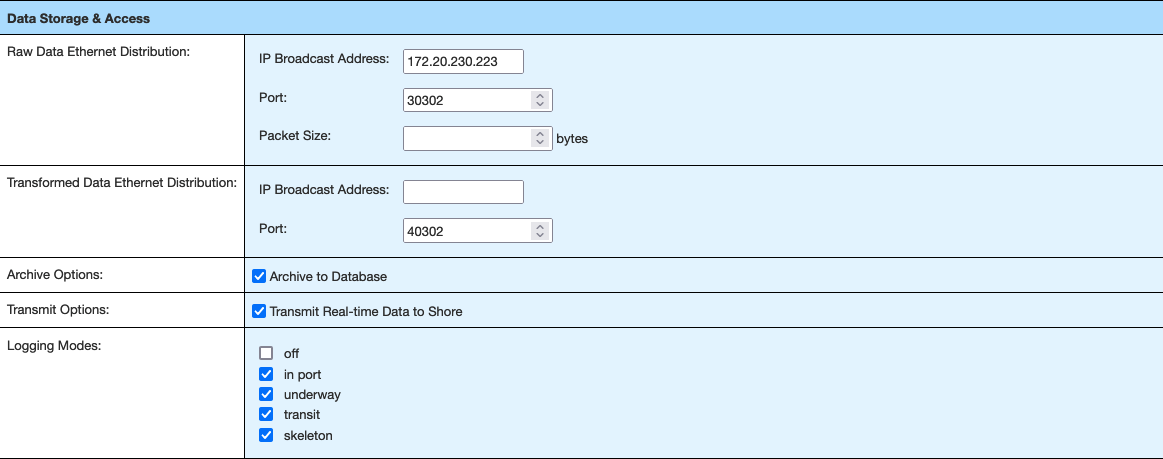
Data Storage & Access
Time Source

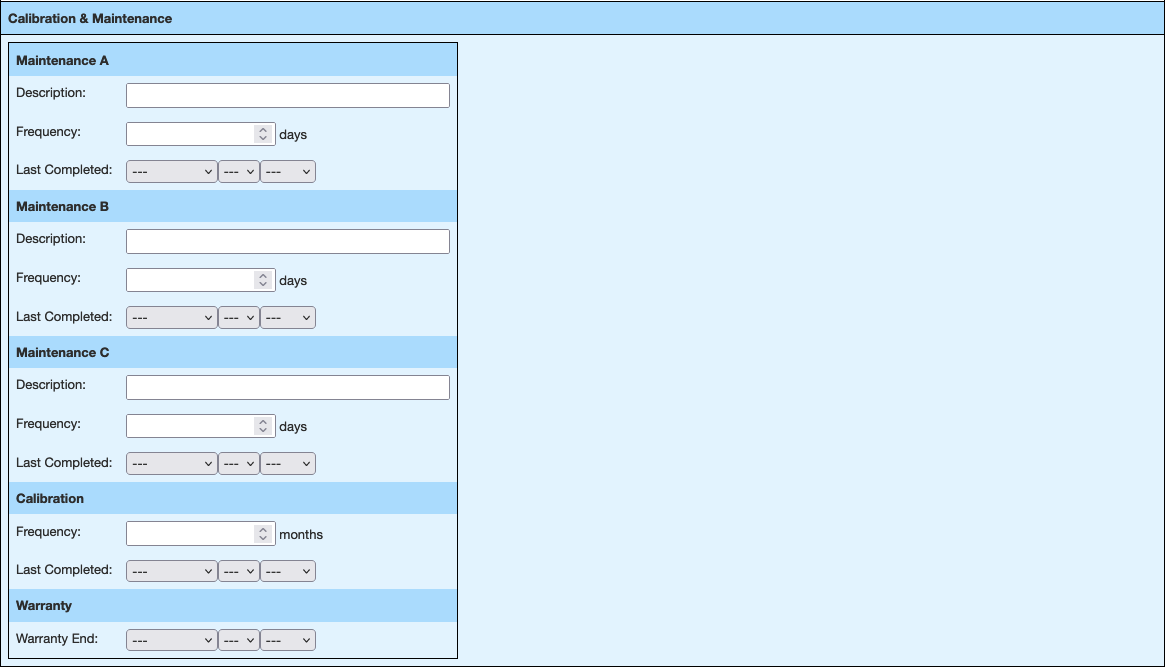
Calibration and Maintenance
Submit Configuration

Once all sections are complete:
- Review all entered information
- Click "Submit" to create the sensor record
- Note the assigned sensor ID for future reference
After successful submission, the sensor record is created in the CORIOLIX database. Proceed to Step 2: Configure Parameters.
Navigation
- Previous: Sensor Onboarding Overview
- Next: Step 2: Configure Parameters
Troubleshooting
Common Issues:
- Regex parsing errors: Use the verify button and check for special characters
- Missing fields: Ensure all required fields are completed
- Duplicate sensor IDs: Check existing sensors before creating new records
For additional help, see the troubleshooting guide.